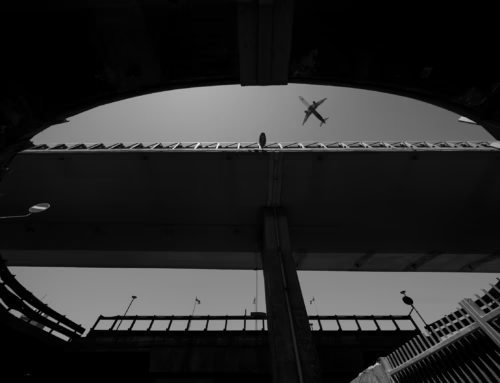
Choosing the right exposure mode is critical for street photography, as each offers a different balance of control and speed. The ideal choice depends on the specific situation and your personal workflow.
Understanding Exposure Modes for Street Photography
Manual Mode (M) gives you complete control over shutter speed, aperture, and ISO, providing maximum creative command. It ensures consistent exposure in environments with stable light, even if your compositions vary, making post-processing easier. Manual mode also encourages deliberate practice, deepening your understanding of light and exposure. However, it can be slower in unpredictable, fast-paced situations, leading to missed moments, and requires constant adjustments in rapidly changing light. Manual mode is best for experienced photographers, consistent lighting conditions, or when aiming for a very specific creative effect, such as panning shots.
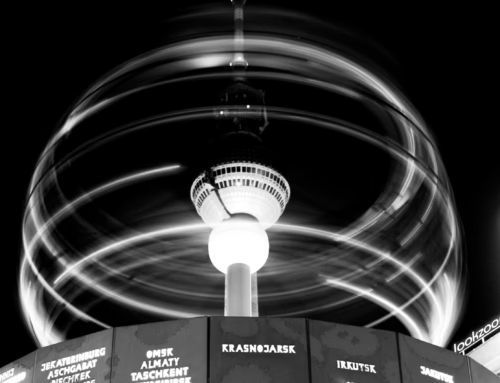
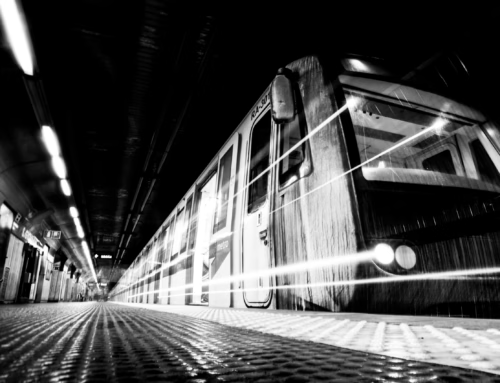
Shutter Priority (Tv/S) allows you to select the shutter speed, with the camera automatically adjusting the aperture for correct exposure. You can either set the ISO manually or use Auto ISO. This mode is ideal when controlling motion is paramount; you can freeze fast action with a high shutter speed or create intentional motion blur with a slower one. It also facilitates quick adaptation to changing light as the camera handles the aperture. The main drawback is that you don’t have direct control over depth of field, as the camera determines the aperture, which might not always align with your creative vision. Shutter Priority is perfect for intentional motion effects, or when shutter speed is more crucial than depth of field, such as for panning.
Aperture Priority (Av/A) lets you select the aperture, while the camera automatically adjusts the shutter speed. Like Shutter Priority, you can use manual or Auto ISO. This mode offers full control over depth of field, allowing you to create blurred backgrounds (bokeh) for subject isolation or achieve sharp, detailed scenes. It’s particularly useful for exploiting the bokeh potential of fast prime lenses and also allows for quick adaptation to changing light since the camera manages the shutter speed. A potential disadvantage is that in dim conditions, the camera might select a very slow shutter speed, leading to blurry images from camera shake or subject motion if you’re not careful. Aperture Priority is ideal when depth of field is crucial, for street portraits, or when isolating specific details.
The Unsung Hero: Auto-ISO
Regardless of your chosen mode, Auto ISO can be incredibly beneficial in street photography. By setting a minimum and maximum ISO range, along with a minimum shutter speed (ideally based on your focal length, like 1/focal length), the camera automatically adjusts ISO for correct exposure. This offers an excellent compromise between control and speed.
Conclusion and Recommendation
For most street photographers, a semi-automatic mode offers the most efficient balance of creative control and necessary speed. If your primary goal is a specific look with defined depth of field (e.g., strong bokeh), Aperture Priority (Av/A) with Auto ISO is often the best choice. If controlling motion (freezing or blurring) is key, Shutter Priority (Tv/S) with Auto ISO is preferable.
Many experienced street photographers favor Aperture Priority (Av/A), typically setting their aperture between f/5.6 and f/8 for good depth of field and using Auto ISO with a minimum shutter speed (e.g., 1/250s). This setup allows them to concentrate on composition while the camera manages exposure, helping to avoid blurry images from camera shake. Experiment with all modes to find what best suits your personal style and the conditions you most frequently encounter. The best mode is ultimately the one that empowers you to capture that decisive moment.
